Having Wi-Fi at home was a luxury a few short years ago. In our lives today, it’s not merely an excellent commodity to brag with; it’s an essential part of our lives that we need for work and play.
Wi-Fi is arguably one of the most important and useful technologies you can have in your home. But, it can also be incredibly frustrating when it slows to a crawl just as you’re finishing a work project or trying to send a file. Let’s not even talk about the frustration when your Netflix has to reload frequently while you’re trying to binge-watch your favorite series. It can drive even the calmest of people to contemplate throwing their router out the window.
Before you do that, though, read on because it’s possible to boost your Wi-Fi connection and speed up your home network! With modern tools and techs such as CCleaner, ExpressVPN, and Clean my Mac X, your family life and your windows can all stay intact.
How to boost your wi-fi
Step 1 – Find the right place for your router
If you want the best Wi-Fi signal, you should place your router out in the open, if possible, in the center of your home without walls or furniture obstructing it. Although a router isn’t the prettiest of things, you should avoid hiding it behind objects and furniture that could hinder the signal.
Your router’s placement is often dictated by where your internet connection enters your home. Still, by purchasing a longer ethernet cable and some clips to hold the line in place, you can place it in a more prominent part of your home. Keep in mind that using the ethernet cable does secure a more robust connection, no matter how unsightly it is. To maximize the router placement benefits, arrange the antenna perpendicularly, with one pointing vertically and the other horizontally.
Step 2 – Check your internet speed
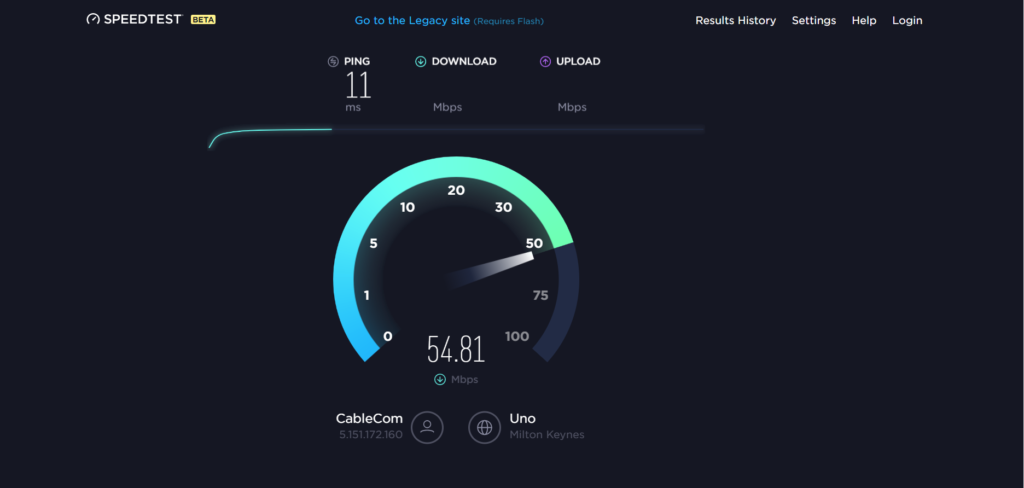
Depending on where you’re located, your internet speed can fluctuate a great deal from what you’re paying for. The great news is that your ISP has many tricks up their sleeve that can increase your internet speed if they know that it’s underperforming. If you’re struggling to get a stable and uninterrupted connection, you can quickly check the connection speed with Network Speed Test tools. It’s free and safe to download and quickly shows you how fast your internet is downloading and uploading.
- Download a Speed Test app or open a free one.
- Open up the app and click ‘Begin.’
- Compare your upload and download speeds against your ISP agreement.
- If it varies significantly, log a call to your provider for assistance.
Step 3 – Change your Wi-Fi channel
With your router’s initial set up, it detects the least crowded channel and uses it, making it the router’s default channel. But, as the area around your home becomes more crowded, the channel can begin to fill up, which can slow you down.
Tools such as NirSoft can analyze the Wi-Fi spectrum and give you details about your home network, including channel utilization, which can help you decide whether to change to a less populated one.
Your internet service provider should have a step-by-step guide on how you can change to a different Wi-Fi channel, as the process can vary. Let’s look at a typical procedure:
- Open your web browser and type in your router’s IP address in the search bar.
- Press’ Enter.’
- Type in your username and password.
- Select ‘Wireless Settings.’
- Click on the drop-down menu for ‘Channels’ and select another Wi-Fi channel.
- Save your changes.
Step 4 – Update your router’s firmware
Problems with your Wi-Fi network can be as simple as your router needs an update. Manufacturers are continually tweaking software to make slight improvements to router performance, and you could be a few (or, probably a lot of) updates behind.
Updating your router’s firmware can vary significantly in difficulty depending upon your device’s manufacturer. Still, most modern routers have an update function built into the router’s administrator panel, so it is just a case of pressing a button and waiting. Here are a few simple steps to update your router:
- Connect your PC to the Wi-Fi network in question.
- Type the IP address of the router into your search bar.
- Navigate to the ‘Update’ or ‘Firmware’ section.
- Select the manufacturer of your specific router.
- Select to download the ‘Firmware Update’ file.
- Move the file to your desktop. Open the ZIP file and extract the firmware files.
- Click on ‘Browse’ in the ‘Update’ section.
- Click on the extracted update file.
- Follow the prompts to start the upgrade process.
- Please don’t interrupt the update; it can take a few minutes.
- When the firmware update is complete, you can reboot your router.
Step 5 – Lock down your Wi-Fi network
It would help if you always had a password on your Wi-Fi network, as unsecured networks can cause all sorts of problems, are vulnerable to attacks and can put your data at risk. In addition to this, neighbors piggybacking on your network can significantly slow it down for obvious reasons.
In addition to this, you can hide your Wi-Fi network from prying eyes via cloaking. If outsiders cannot see your network, it cannot be accessed – simple! Consider a Wi-Fi Protector to cloak your network from unauthorized opportunists.